
How YouTube really decides who sees your video
Before you plan anything, it helps to understand what the platform is trying to do. YouTube wants viewers to keep watching YouTube. Your video gets shown to more people when the first small groups who see it click on it and then stay to watch. Everything else in this guide is a way to improve one of those two moments: the click and the watch.
The first moment is click-through rate: of the people who saw your thumbnail and title, how many chose to open the video. The second is viewer retention: how much of the video they actually watched. A video with an average click rate and strong retention often beats a clickbait video that people abandon after ten seconds.
This is good news for beginners. You do not need a big audience to win these two measurements. You need a clear idea, a promise that is easy to understand, and a video that delivers on it quickly.
Do not chase the algorithm as if it were a person to impress. Chase the viewer. The system mostly follows what viewers do.
Step 1: Choose a niche you can sustain
A niche is simply the group of people you make videos for and the type of problem you help them with. The best early niche sits where three things overlap: you can talk about it for hundreds of hours, people are already searching for it, and there is some way to earn from it later.
A useful test is to write down fifty video ideas. If you run out at fifteen, the topic is too narrow or you do not know it well enough. If you reach fifty easily and still feel curious, you have found a workable area. Our guide on how to find a viral niche goes deeper on research.
Avoid the two extremes. "Gaming" is too broad for a new channel, because you compete with huge creators. "One specific level of one old game" may be too small. Aim for something like "budget laptops for students" or "simple Pakistani home recipes under 30 minutes". It is specific enough to stand out and broad enough to last.
Step 2: Define who you are talking to
Imagine one real person watching. Maybe a nineteen-year-old who wants to start freelancing, or a mother who wants quick dinner ideas. Write one sentence: "I help [person] do [result] without [pain]." Put that sentence next to your screen. When you script a video, ask whether that person would care about every minute of it.
This single habit improves almost everything: your titles become clearer, your intros get shorter, and you stop adding side stories that only you find interesting.
Step 3: Set up a simple, honest production kit
You do not need expensive gear. You need clear sound, steady light and a clean frame.
- Audio first. Viewers forgive average video but not bad sound. A cheap wired microphone close to your mouth beats an expensive one across the room.
- Light from the front. Sit facing a window. Soft daylight is free and flatters almost everyone.
- Stable shots. Prop your phone against books if you have no tripod. Wipe the lens before you record.
- Simple editing. Cut pauses, mistakes and repeated words. Fast, clean editing is the cheapest way to raise retention.
If your phone footage looks soft, run it through the Video Quality EnhancerVideo to 3D before uploading, and trim the awkward beginning with the Video Trimmer. You can also edit everything in the browser with the Supreme Pro video editor.
Step 4: Plan videos around a promise
Every video should make one promise that a stranger can understand in two seconds. "How I edited 30 videos in a week", "5 mistakes that keep your channel at 0 subscribers", "iPhone camera settings for sharper video". These work because the viewer knows what they will get.
Use this simple structure for most videos:
- Hook (first 5–15 seconds): state the result or the problem, and why it matters now.
- Proof or context (short): a quick reason to trust you, such as a result, a demo or a short example.
- Main content: deliver the promise in clear steps or sections.
- Payoff: show the final result or summarise the key points.
- Next step: point to one related video, not three.
Cut anything that does not serve the promise. If a section feels like a detour, it probably is.
Step 5: Write titles and thumbnails together
Think of the title and thumbnail as one unit. The thumbnail should create curiosity or show the result; the title should add the detail the image cannot. They should not repeat each other.
Good titles are specific, honest and easy to read on a phone. Compare "My Day" with "I Tried Studying 10 Hours a Day for a Week". The second tells a story and invites a click. Keep the important words near the front, because titles get cut off on small screens.
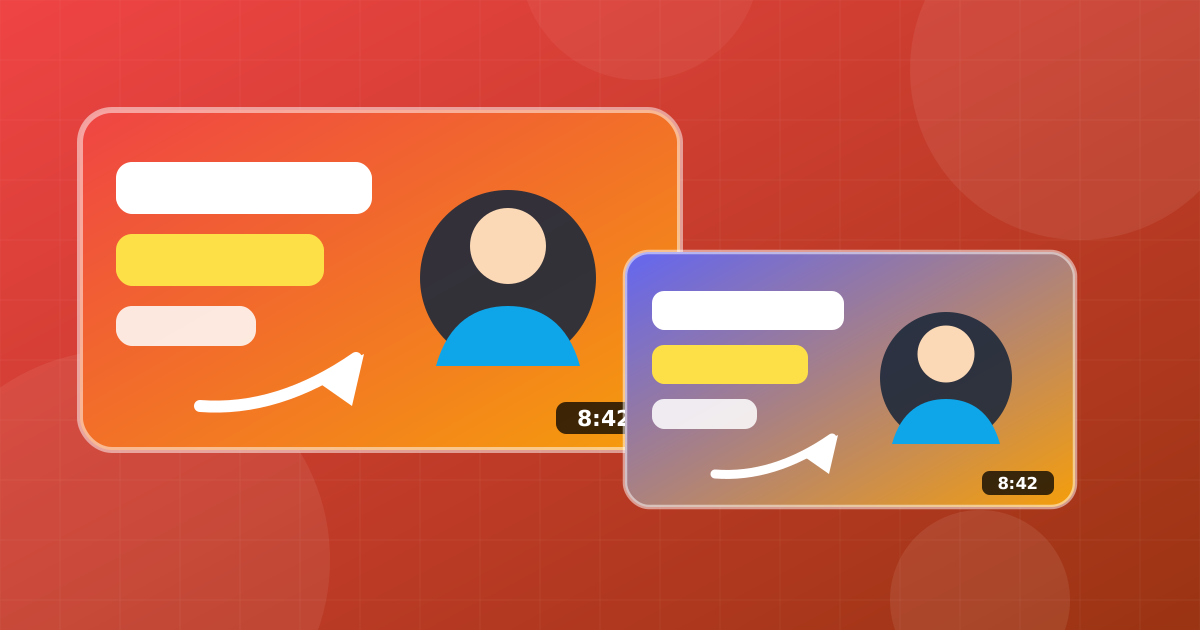
For thumbnails, aim for one clear subject, three or four words at most, strong contrast and a face with a readable emotion if the topic suits it. Our dedicated guide on making thumbnails that get clicks covers layouts and mistakes. Remember to compress the final image with the Image Compressor if it is too large to upload.
Step 6: Treat the first 30 seconds as the most important part
Open your analytics after a few videos and look at the retention graph. You will usually see a steep drop in the first half minute. That is where most beginners lose the video.
To reduce that drop:
- Start with the result or the problem, not your name or a long greeting.
- Do not spend the first minute explaining what you will cover. Show it.
- Use quick visual changes: a cut, a zoom, a graphic or a new angle every few seconds.
- Remove filler such as "so basically" and "um". Small cuts add up.
After the intro, look for other cliffs in the graph. If viewers leave at the same point, something about that section is slow, confusing or off topic. Fix that pattern in the next video.
Step 7: Publish consistently, but sustainably
Consistency matters because it lets you practise and gives the platform more chances to learn who your audience is. It does not mean burning out. Choose a schedule you can keep for six months, such as one video a week plus two Shorts. Our article on building a content calendar shows how to batch the work.
A weekly rhythm also makes it easier to compare results. After ten videos you will see clear patterns about which topics and thumbnails do better.
Step 8: Use Shorts as a doorway, not a replacement
Shorts can bring fast reach, but short-form viewers often behave differently from long-form viewers. Use Shorts to introduce your topic and personality, and point curious viewers to a longer video that goes deeper. If you want to compare formats, read Shorts vs TikTok vs Reels.
A good method is to cut a strong 30–45 second moment out of each long video, add a punchy caption, and end it with a question that the full video answers.

Step 9: Learn from your analytics every week
Once a week, spend thirty minutes in YouTube Studio. Look at four things:
- Impressions click-through rate for each video. Compare it with your own average, not with other channels.
- Average view duration and the retention graph. Note where people leave.
- Traffic sources. Search, suggested videos, browse and Shorts each tell you something different.
- Returning viewers. This shows whether people like your style enough to come back.
Write one lesson from each video in a notebook. After three months, that notebook becomes your personal guide to what your audience wants.
Step 10: Build real community
Reply to comments in the first hours after upload. Ask questions that make people answer with more than "nice video". Pin a helpful comment. Mention a viewer's idea in your next video. Small acts like this create loyalty, and loyal viewers are the foundation of every channel that lasts.
Common mistakes that slow growth
- Changing niche every month. The system and your audience both need time to learn what you are about.
- Copying big creators exactly. Learn from their structure, but add your own angle, voice or experience.
- Over-polishing and never publishing. Your tenth video will be better than your first, but only if you publish the first.
- Ignoring search. Many topics have steady search demand. Learn the basics in our YouTube SEO guide.
- Buying subscribers or views. Fake numbers hurt retention and trust, and can put a channel at risk. Never do it.
A realistic 90-day plan
Days 1–14: pick the niche, write fifty ideas, set up lighting and sound, and publish two videos.
Days 15–45: publish weekly. Spend extra time on the first 30 seconds and the thumbnail. Reply to every comment.
Days 46–75: review analytics, double down on the two best-performing topics, and start adding Shorts.
Days 76–90: refine your channel page, add a clear banner and description, create one playlist per main topic, and plan the next ninety days.
Growth rarely looks smooth. A channel often sits quietly for weeks and then one video takes off. Creators who last are the ones who kept publishing while nothing seemed to happen.


 How to Grow on TikTok From Zero to Your First 10K Followers
 How to Make Money From YouTube and TikTok: An Honest 2026 Guide
 How to Make YouTube Thumbnails That Get Clicks (Free Step-by-Step Guide)
 YouTube SEO Guide: Titles, Descriptions, Tags and Keywords That Rank